In UX / UI design, there are times when you need to create prototype screens for communication. Nowadays, the design tool Pygma also provides various features for prototyping. Today, we'll learn how to create a prototype screen using Pygma.
Prototype default configuration
Create a prototype
Let's start by explaining how to create a prototype. On the right side of the Pygma screen, there are three tabs - Design, Prototype, and Inspect. From there, select the Prototype tab.
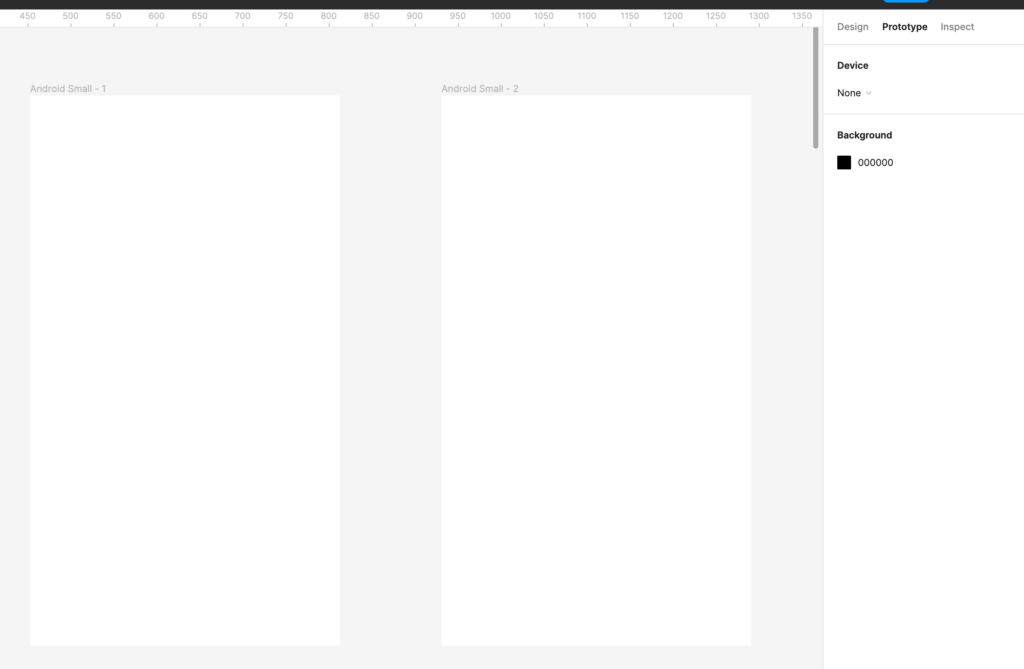
After creating the two frames, I selected the Prototype tab and hovered over the first frame to see the points as shown in the image below.
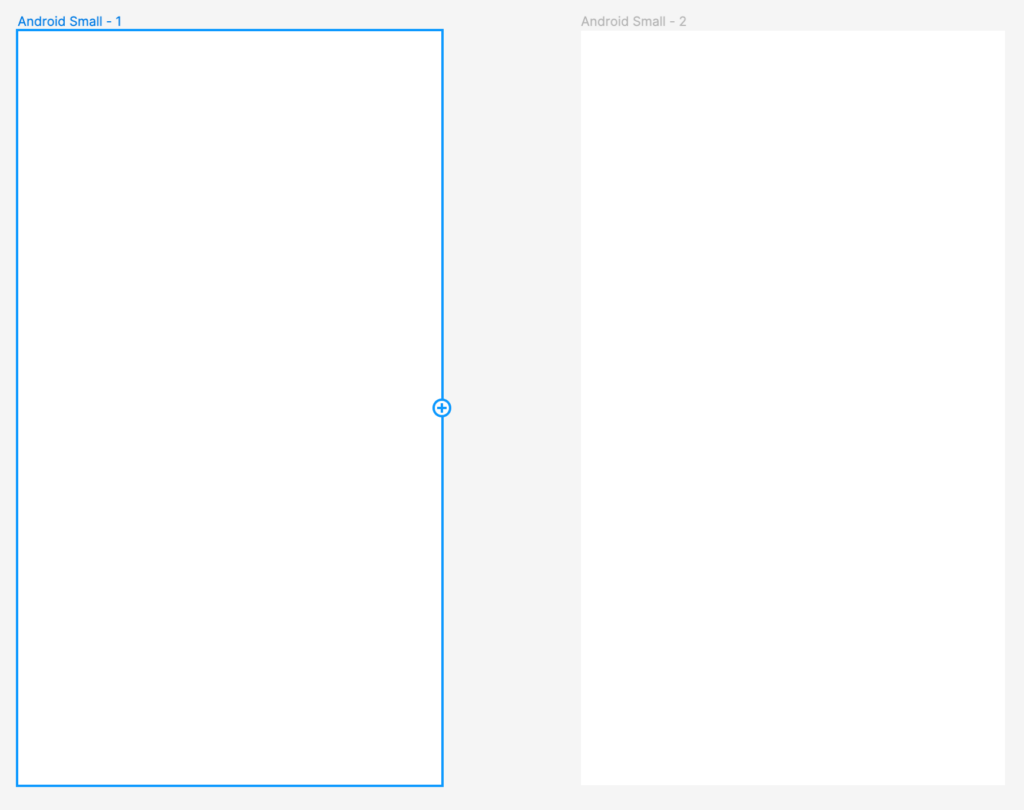
When you drag from a point in the first frame to the second frame, you'll see several items appear on the Prototype tab with arrows, as shown in the image below.
Explore prototype basics
Let's take a look at each of these elements in more detail.

- Hotspot: Where a user's interaction begins
- Connections: arrows connecting animations, interactions between two frames.
- Destination: Point to the changed results screen
And when you select Connections (arrow), a number of options appear on the Prototype screen.
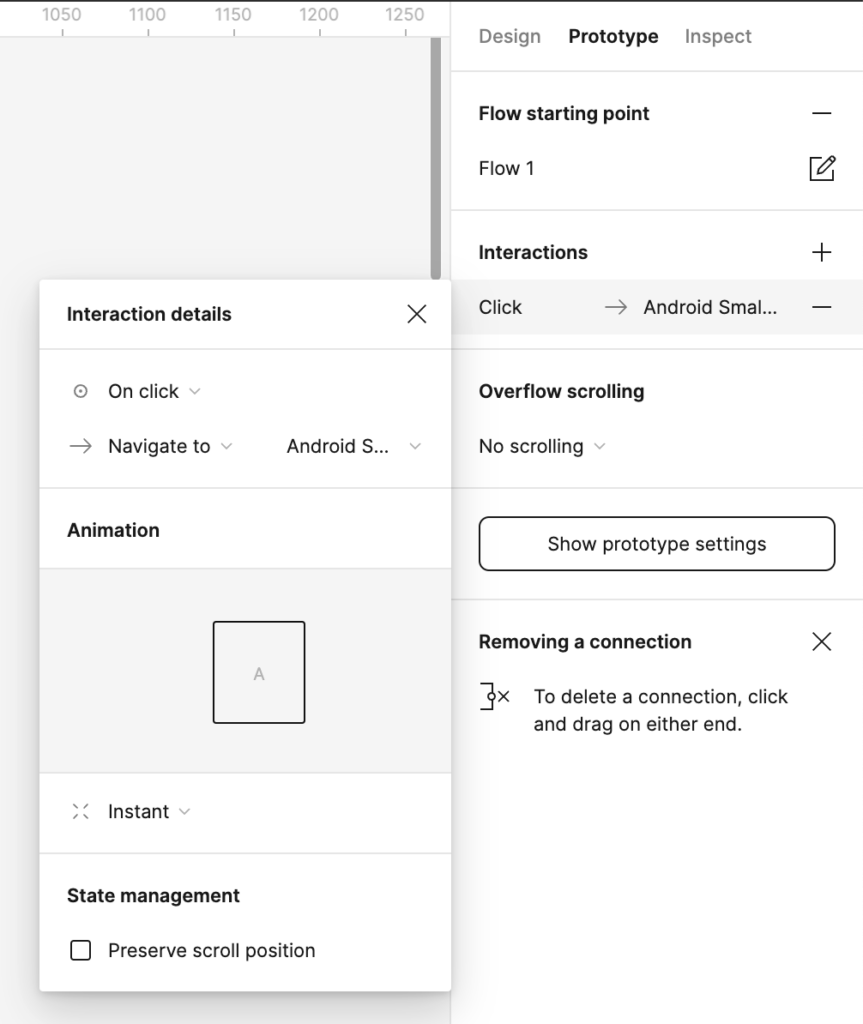
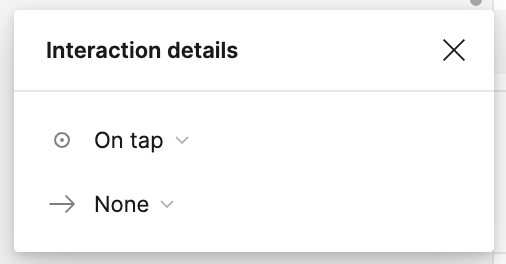
First, let's look at the Interaction detail screen on the left, which is organized in the following order from top to bottom: Trigger Type - Action Type - End Frame - Animation Preview - Animation Settings. We'll cover these in more detail below, so let's skip them for now.
Prototype panel configuration
If you look at the Prototype screen menu on the right, it looks like this
- Flow starting point: The flow on the screen that the prototype is connected to, which can be renamed to make it more recognizable, or you can share just that flow separately.
- Interaction: Determines the input factors such as click, drag, etc.
- Overflow scrolling: select horizontal scrolling, vertical scrolling options
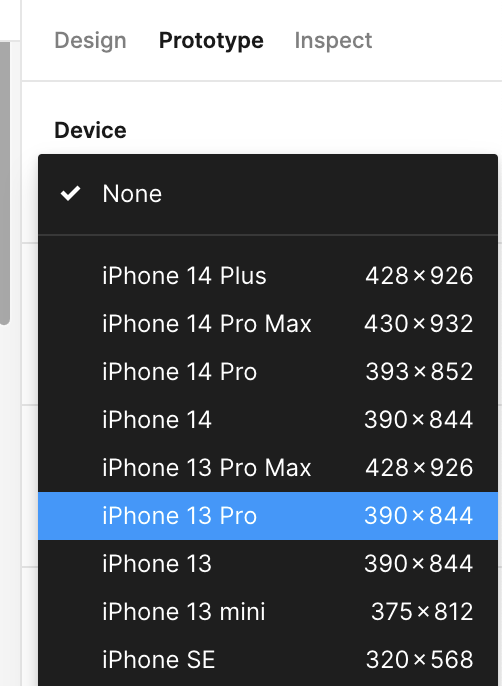
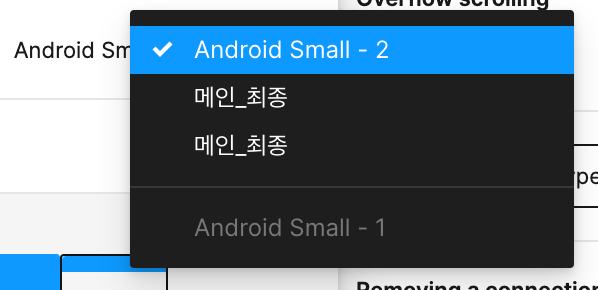
- Show prototype settings: Choose the device type, background color, and more for your mockup.
The Prototype tab is where you can manage the device model type, background color, and prototype flow without connections selected. Selecting a device model allows you to specify a detailed model name, including colors, and you can see a mockup preview. (You might be wondering...?)

How to play a prototype
If you want to play the last prototype you created, you can click the play icon next to the Share button in the top right corner of Pygma.
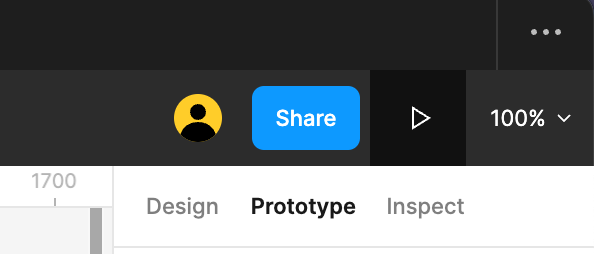
When you select the icon, the screen changes as shown below, and you can see the prototype screen.
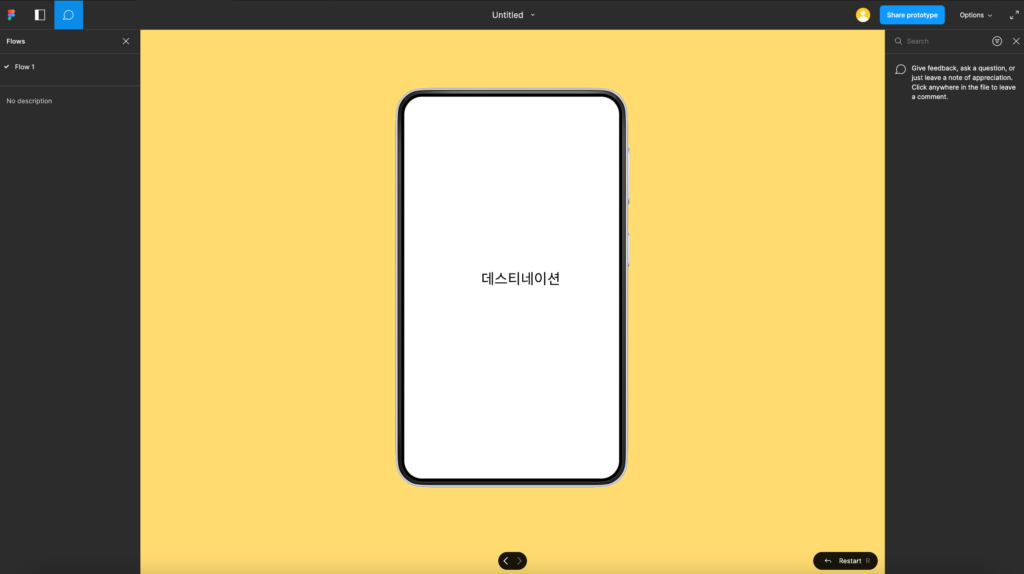
There's a lot more to this playback screen, which we'll cover in the next post.
Interaction Details
Now that we've covered the basic configuration of the Pygma, we're going to go over the settings options in the Prototype menu one by one. We'll need examples, so we've prepared two screens with red and yellow boxes.
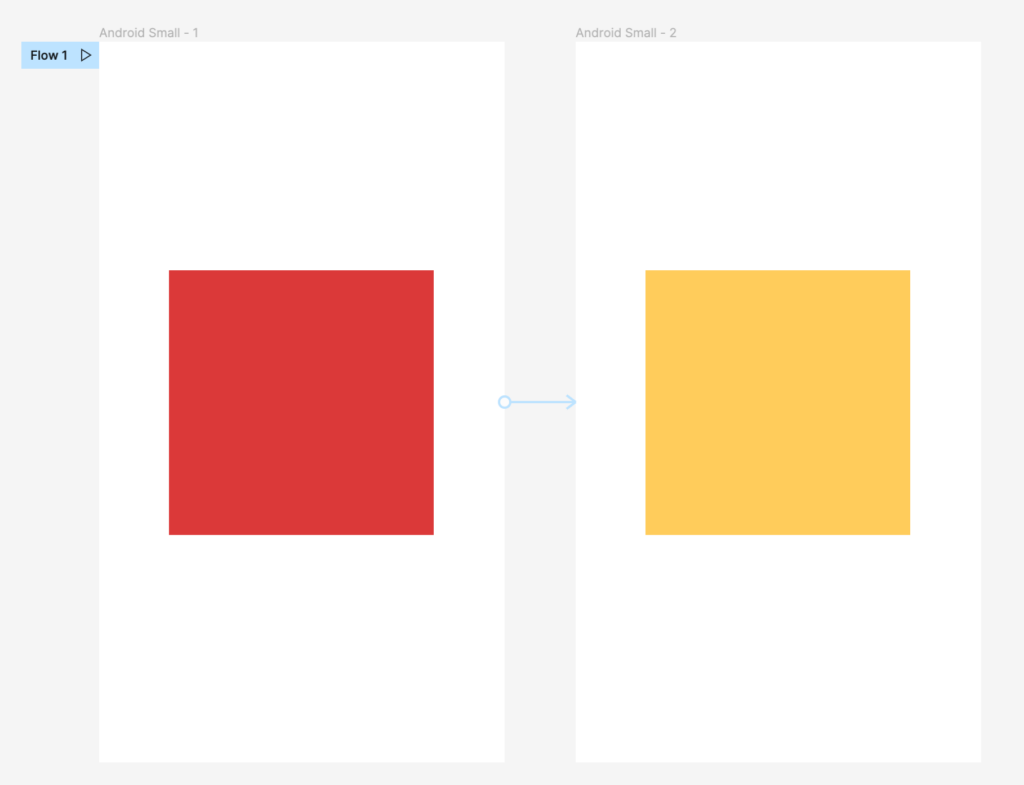
By selecting the connection in the form of an arrow, you can set up the interaction and animation. Let's take a look at the Interaction details section first.
Setting up interaction triggers
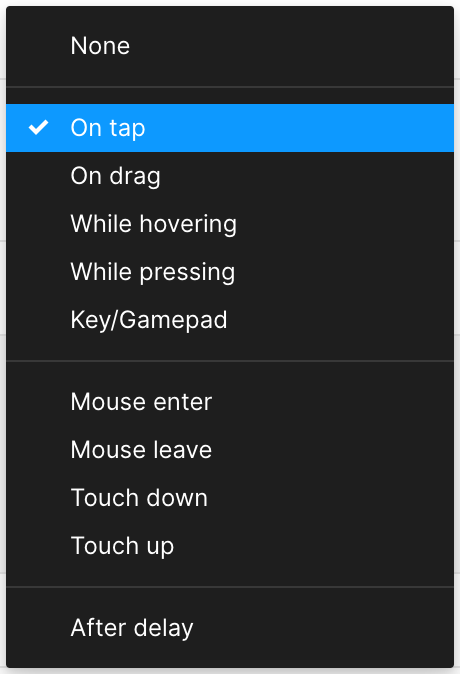
The first On tap is called "Trigger" and this is where you choose the type of trigger, such as a click, drag, or mouseover.
The movement by trigger type is shown below.
- None : Take no action (skip ahead)
- On tap: On tap (default, most representative)
- On drag : Drag (horizontal, vertical orientation)
- While hovering: when the mouse is over the component in question.
- While pressing: The action between pressing and releasing the mouse.
- Key/Gamepad: When typing with a tool such as a keyboard, Xbox pad, etc.
- Mouse enter: the moment the mouse enters the region
- Mouse leave: the moment the mouse leaves the area
- Touch down: the moment you press the mouse
- Touch up: the moment you let go of the mouse
- After delay: Automatically skip the screen after a certain amount of time.
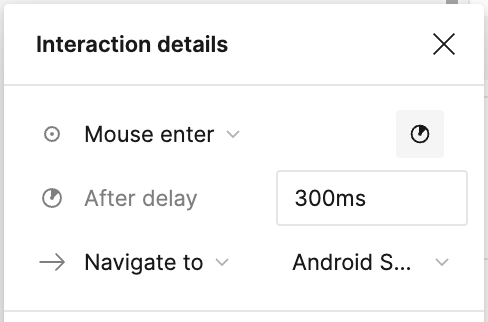
From Mouse enter to Touch up, you can further set the After delay for that trigger.
I just left the trigger as the most representative On tap and moved on.
Set up a prototype action
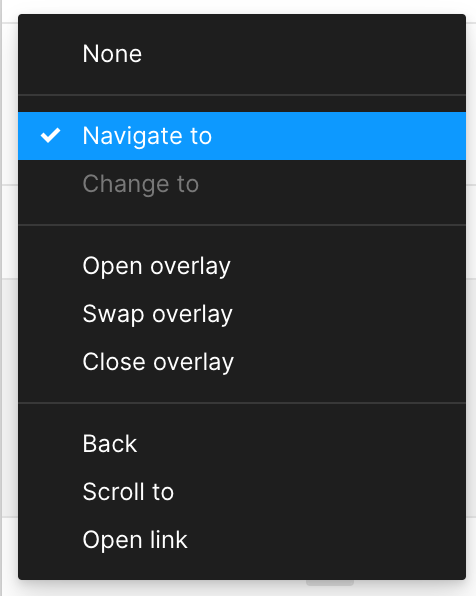
Next is the part that says Navigate to, which is an "action" feature that allows you to set how the frame changes and appears when it is moved.
Let's take a look at the different types of "actions" in Pygma Prototype.
- None: No change
- Navigate to: Navigate to the linked frame
- Change to: Changes to the corresponding component when connected from within variants (as of this point, the one I have set up is not a variant, so it seems to be showing as inactive)
- Open overlay: Opens an overlay (used when creating a modal popup)
- Swap overlay: The screen is replaced with an overlay frame
- Close overlay: Closes the overlay
- Back: Return to the beginning of the frame
- Scroll to: Scroll to the location you connected to.
- Open link: Link to an external link
Again, we're going to keep this as the default, Navigate to,...and we can select an exit frame by hitting the drop-down button right next to it. You'll see all the frames on that page, only the one with the hotspot (where the interaction starts) is disabled.
You have a prototype example of a very simple movement.
Animation
Configuring Animation Basics
Today, we'll learn how to set up interaction triggers, actions, and then animations. I believe that if you learn the prototyping features provided by Pygma properly, you can create a nice UI prototype without using a separate prototyping program.
First, animations can't be set when the action is in the none state, as shown below (obvious, right...?)
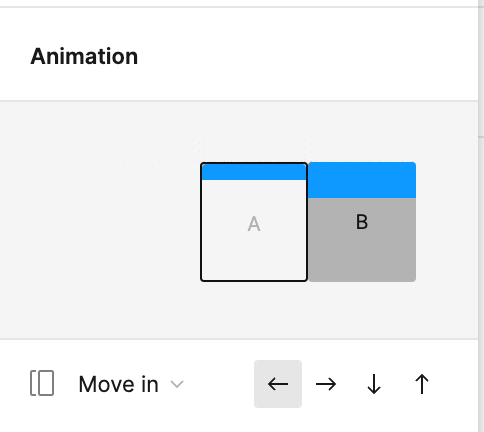
You'll see an animation item at the bottom where you have to choose how you want it to move. I left the action set to Navigate to and went through the animation options.
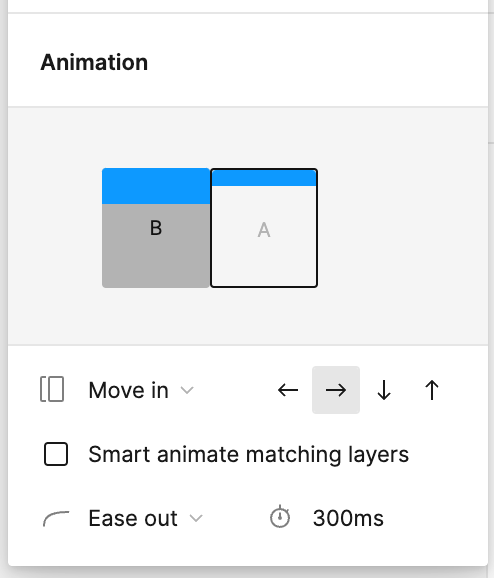
When you look at the configuration, right below is the preview screen, followed by buttons to set the movement and orientation of the layer, as well as acceleration options (+duration).
Setting Layer Movement
Let's take a look at the kinds of layer movement you can choose from.
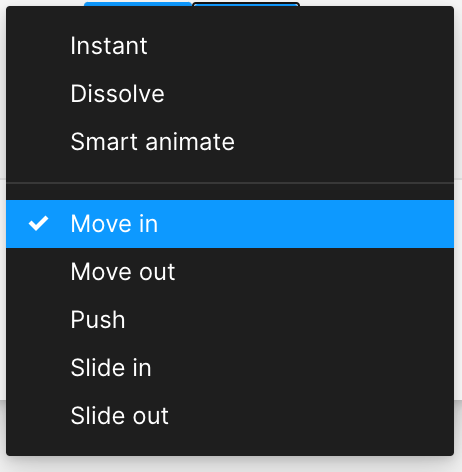
- Instant: No animation (skips ahead)
- Dissolve : The preceding frame becomes transparent (transparency 0%) and skips to the second frame.
- Smart animate: Layers with the same name change naturally, often to show the effect of changing size or changing color.
- Move in : If A, B frames are present, B frame slides in (frames must be connected)
- Move out: If there is an A,B frame, the B frame will slide out like a slide.
- Push: If there are A and B frames, the B frame pushes the A frame in.
- Slide in : A frame becomes transparent (transparency 0%) and B frame comes in (similar to Move in).
- Slide out : A frame goes out while B frame goes to transparency 0 -> 100%
Setting Layer Orientation
After you select Layer Move, you can use the arrow keys on the right to set which direction you want the next frame to come in from.
Right after that, there's a checkbox option that says Smart animate matching layers, and if you check that, layers with the same name won't change when the screen switches, and they'll stay on the screen. I think smart animate is a very versatile feature, and I'll go into more detail with an example when I get a chance.

Setting the Easing Curve
Once you've set the effect and direction of how the layer will move, it's time to choose an easing curve.
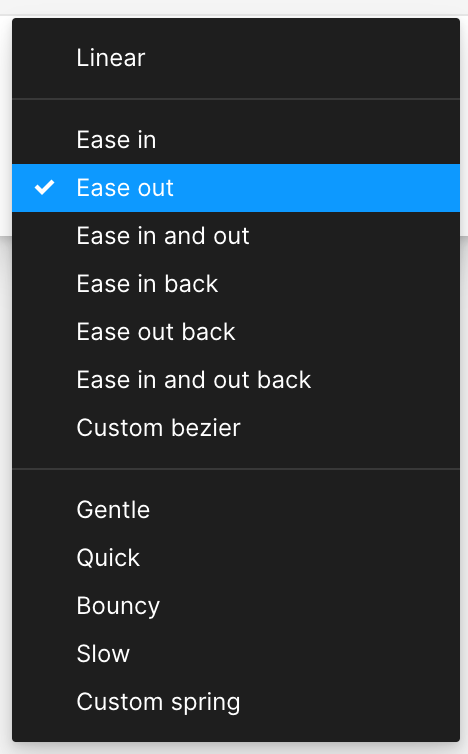
This determines the acceleration of the transition between the start frame and the next frame. This is also known as a keyframe, which can be two interacting frames, such as a screen transition, or the start and end states of a single frame, such as the color of a watercolor changing.
- Linear: Basic acceleration, moving at a constant speed
- Ease in: Start slow and get progressively faster
- Ease out: starts fast and gradually slows down
- Ease in and out: start slow, get faster in the middle, and slow down again
- Ease in back: Accelerates when the animation reaches the end past the value of the initial keyframe.
- Ease out back: The animation starts fast, slows down, and passes the value of the end keyframe.
- Ease in and out back: starts slow, speeds up past the value of the initial keyframe, slows down again, and speeds up past the value of the end keyframe.
- Custom bezier: Manually set and adjusted by selecting a custom option from the list
- Gentle: Gently passes through
- Quick: Quickly pass by
- Bouncy: Bounces and bounces effect
- Slow: passes slowly
- Custom Spring: Allows users to manually set spring animation curves
If you select Custom bezier, you'll see a graph like the one below. You can preview the different curve types by dragging the circles at the end of the graph to get a better idea of the behavior.
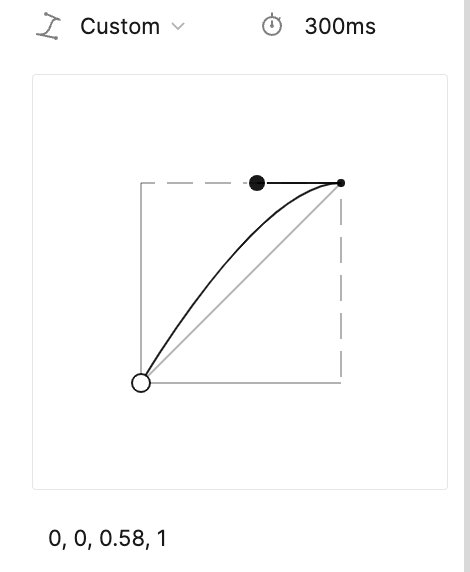
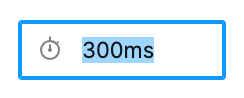
The number to the right of the easing curve indicates the duration. 300ms means 0.3s, and that's the default for most things.
We've covered all of the settings options on the Prototype tab, and it's been a great way for me to learn more about Pygma's prototyping features. However, there are some things that I don't think I've covered enough, so I'm going to have to work on some more examples.
In the next post, we'll discuss the Overflow scrolling option and some of the features offered by the prototype playback screen. That's it for today's lesson!