I'm using a MacBook. I used to use github at work, so I know the basics, but this time I decided to take an online course to really learn version control from the ground up. I'm a very forgetful person who forgets things when I turn around, so I'm going to blog about what I've learned along the way. So today, the first thing I'm going to do is install Git on macOS!
How to install Git on a MacBook
I used homebrew to install git. If you don't already have homebrew installed on your MacBook, you'll need to install it first. Click the link below for instructions on how to install homebrew.
Once you've finished installing homebrew, it's time to start installing git in earnest! Find the Terminal program on your Launchpad and run it.

Then type something like this and hit enter.
brew install git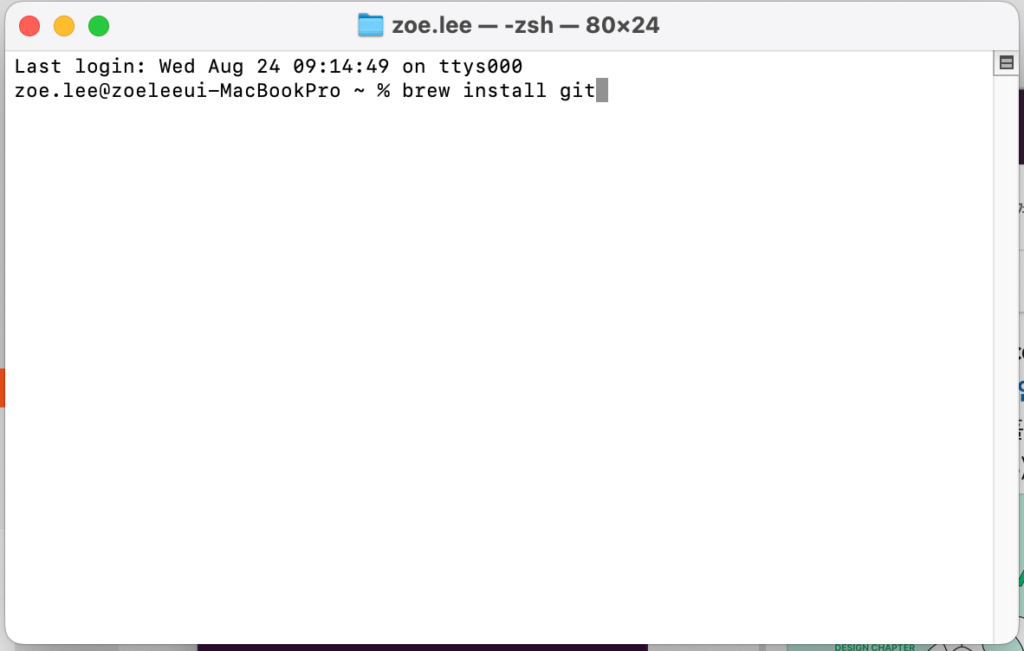
Automatically installing git?
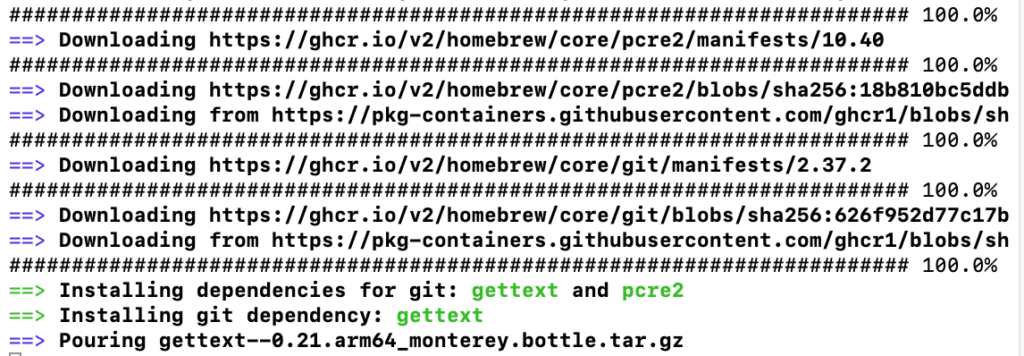
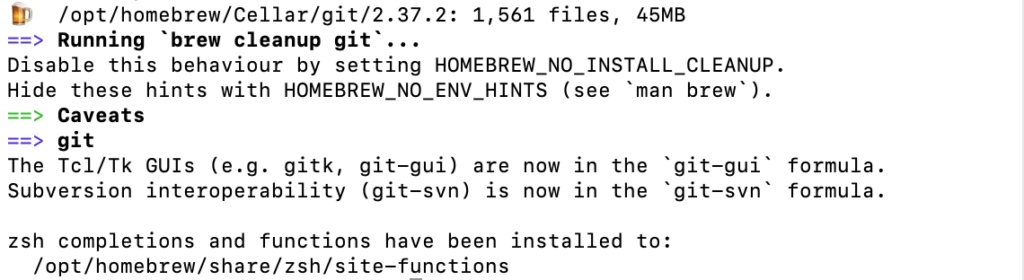
Wait a few minutes and you'll see something like this, and you're all set to install. It's almost too good to be true, right?
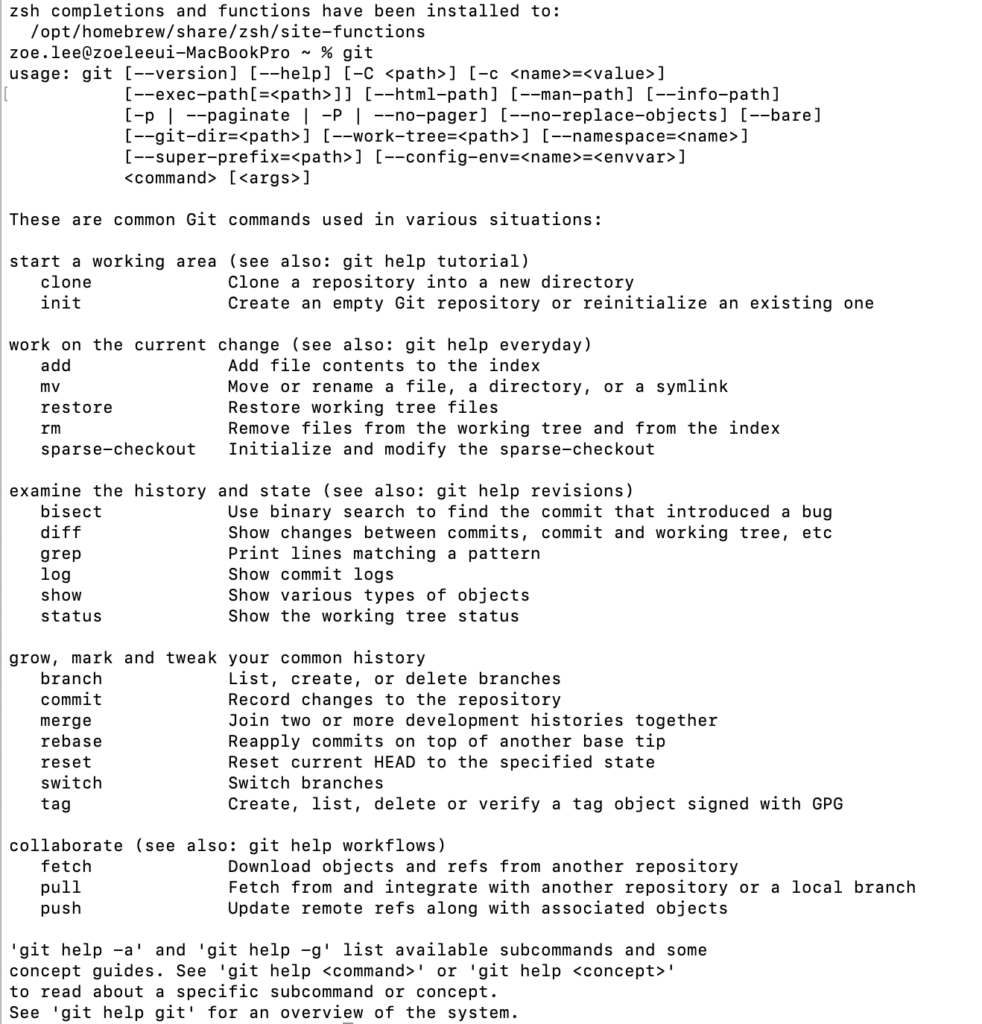
Check the installed Git version
Type git into a terminal command
Once you've finished installing git, it's time to verify that it's installed properly. There are two ways to do this: first, type git in a terminal command and hit enter. If you see a description of git like the one below, you're good to go.
Type git -version into your terminal
Second, try typing git -version into your terminal.
git --version
This will output the version of git installed on your MacBook in the bottom line. The version of git installed on my machine is 2.32.1. That's it, we're done with our painless git installation. In the next post, we'll create a repository and make our first commit.