This time, I wanted to play around with data, so I installed MySQL and came across a manager program called homebrew. I had used homebrew a few years ago to install Ruby, but I was new to Mac and didn't know what I was doing, so I didn't pay much attention to it.
Homebrew is a package manager for macOS that lets you manage your programs in a CLI environment. It's based on Git and Ruby and lets you install useful package managers that aren't available on Apple or Linux systems, as well as uninstall, version control, and more. The white-on-white, black-on-black CLI environment can be a little intimidating at first, but they say it's much more convenient than you might think... so I'll be giving it a try in the future!
Today we're going to cover a simple installation of Homebrew, and in future posts we'll cover some of the basic commands and how to use them.
How to install Homebrew
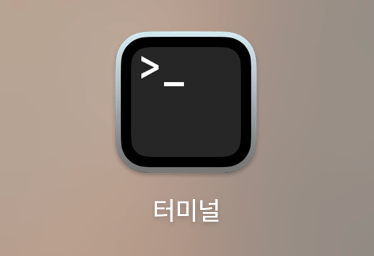
Installing homebrew is very simple. First, run the Terminal program, which is installed by default on macOS.
This will take you to the official Homebrew homepage. Click the button below to get there.
The official website is kind enough to provide the installation code right on the first screen.

Copy and paste the script into the terminal as shown below and hit enter.

For a quick installation, you can copy the code below verbatim.
/bin/bash -c "$(curl -fsSL https://raw.githubusercontent.com/Homebrew/install/HEAD/install.sh)"You'll then be prompted for a password with the message Checking for 'sudo' access (which may request your password)... Enter the password for the macOS administrator account you use and press Enter. Don't panic, it won't show up on the screen when you type it 🤔.
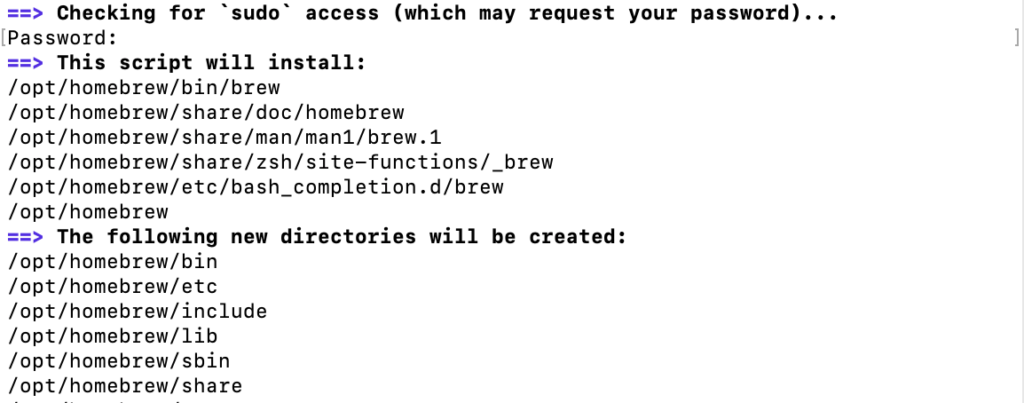
Diligently installing Homebrew...
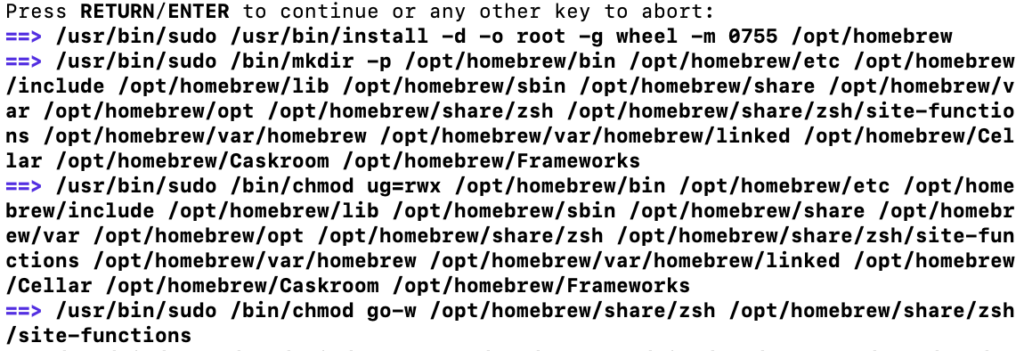
If you get another message saying Press RETURN/ENTER to continue or any other key to abort, press Enter or Return, and the installation will proceed automatically again.
If you see a message like the one below, your Homebrew installation is complete.
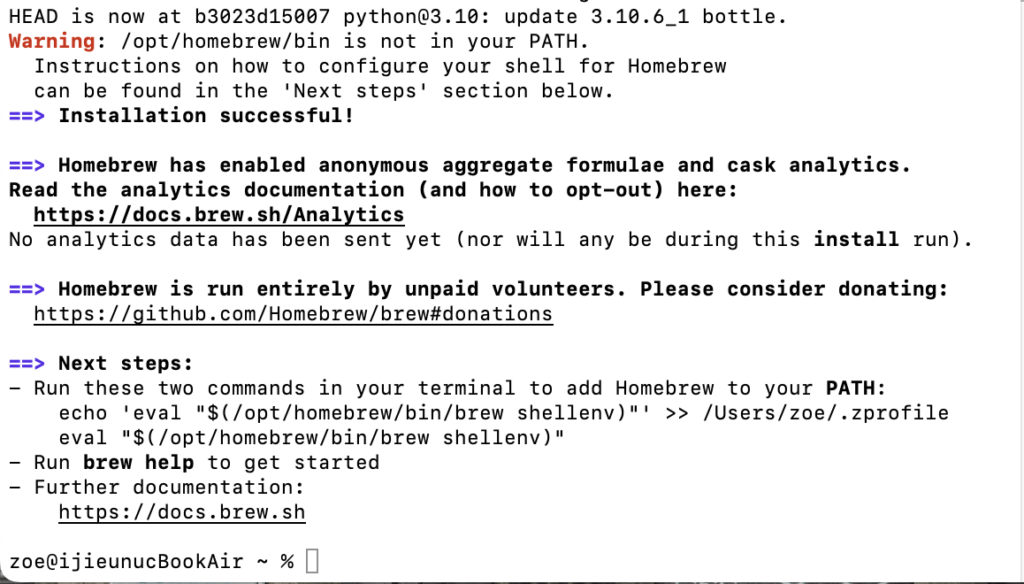
Check if Homebrew is installed
You can verify that your Homebrew installation is working properly by typing the command brew help.
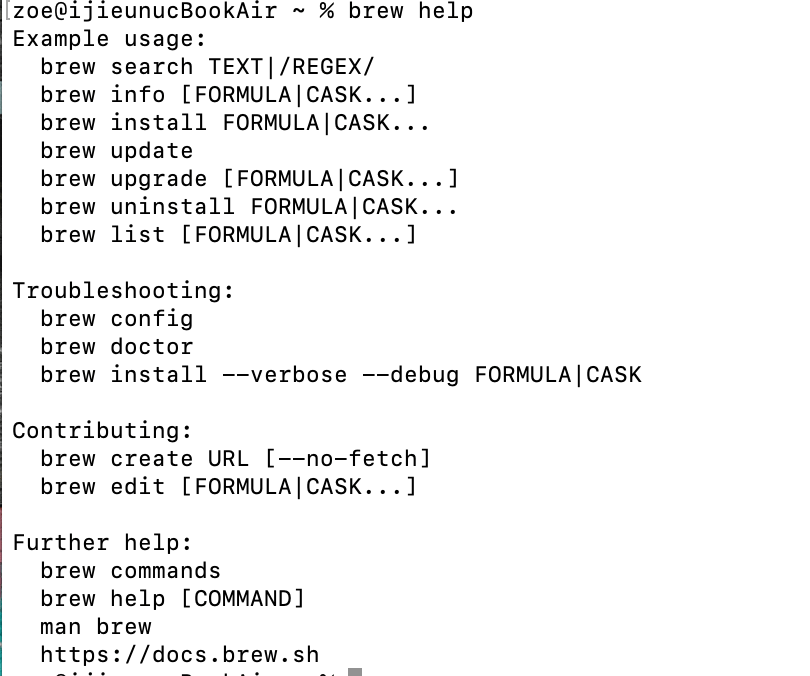
Copying and pasting the script, entering your password, and hitting a few keystrokes were all it took to install Homebrew. Now, let's try installing MySQL using Homebrew!
